How-To: Manage Contacts (Club Members)

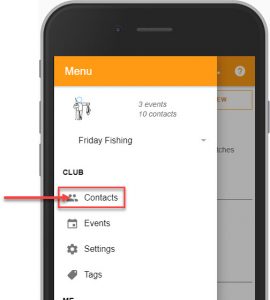
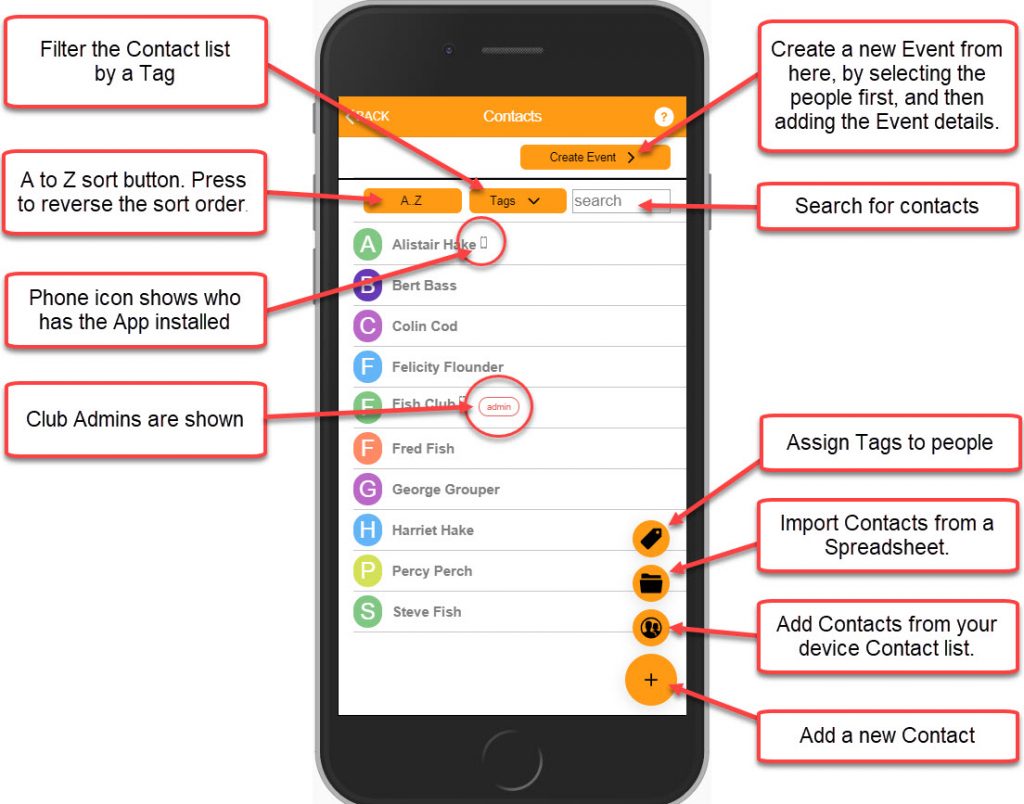
The Contacts page allows you to create, import and manage contacts (club members).  Contacts are those people that you can invite to events.

  • If you want to have additional Administrators for your club, they need to be set-up as Contacts first.  You will need either a Club or Pro plan to have more than one administrator.
  • If all your events are ticketed, then you probably don’t need to set-up any contacts (apart from additional Admins – depending on your Plan).

NOTE: Only club Owners and club Admins have access to the clubs Contact list.

Contacts page

  1. Tap the Menu button in the top left.
  2. Select the Contacts option.
  3. The Contacts Page lists all the Club Contacts (Members).  From this page you can create, import, group and manage the clubs contacts.  Here is a summary of the controls and buttons on the contact list page.
  4. Tap on a Contact and select the “EDIT” option to update the contact details.

Contact Fields

  • Name: The name that will appear in the Contact list.
  • Email:  This email address will be used to send invites and reminders.  When inviting them to join the club, this email must match the email address they use to register for the App.
  • Mobile: Their mobile number.  (For information only)
  • Club Administrator: Ticking this checkbox will make the contact a Club Administrator, and thus able to manage contacts and events using their app. It will trigger an invite if they are not already using the app.
  • Comments: For your own use
  • Current tags: Shows a list of tags associated with the contact; you can use this list to add or remove tags for this contact.
  • Enable secondary contact details: When clicked, you can enter a second email and mobile number for an alternate contact (e.g. a parent). When the checkbox is left ticked, the secondary contact will receive a copy of all notifications that are sent to this contact.

Managing Contacts

  1. Tap on a Contact to show more information.
  2. Use the “Edit” or “Delete” buttons as required.

Controls at the top of the screen:

  • “Create Event” button: Start event creation by selecting contacts to join the event
  • “A..Z” button:  Change the sort order between A-Z and Z-A
  • “Tags” button:  Enables you filter contacts by ‘tags’.  A contact can have any number of tags so that they may be sorted into groups such as:  “A team”, “B team“, “Senior”, “Junior” etc.
  • “Search” box:  Filter contacts by entering a name or part thereof

Buttons on the bottom right:

  • Tag icon: Assign tags to groups of people.
  • Folder icon:  Import contacts from a spreadsheet.

    To do this, you need to create a spreadsheet with the following headings:

    name
    email
    mobile
    comments
    tags
    email2
    mobile2

    Note 1: The spreadsheet must have a minimum of name and email, the other columns are optional.

    Note 2: If included, the tags field should contain a comma-separated list of tags that already exist in the system.
  • People icon:  Import contacts from your phones contact list
  • (+) “Add” icon:  Create a contact
  • Actions on contacts:
    • Click a contact to show more information
    • Press edit or delete at this point